Clear ID photos are essential for ID cards, as they allow holders to be quickly and efficiently identified. If you’re struggling to take good ID photos of your employees, members or students, try these top 10 tips, which can help to improve the quality of your photos.
 1. Use a Good Camera
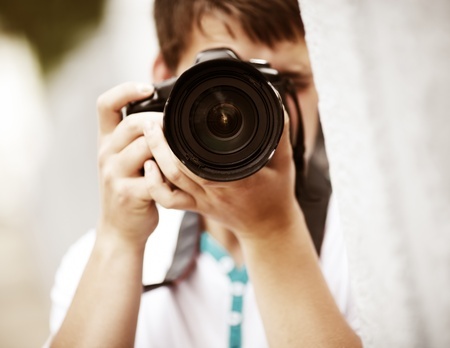 1. Use a Good Camera
It’s essential to use a camera with good enough specifications to take photos for ID cards. Choose a camera with a minimum of 12 megapixels. Most digital cameras and even some mobile phones meet this requirement, although older phones and some webcams may not.
2. Choose a Plain Background
Always take photos in front of a plain white or pale grey background. Avoid backgrounds that have texture or patterns and move furniture out of the way. Position the person roughly 3 feet from the background to minimize shadows.
3. Use Good Lighting
Where possible, take ID photos in daylight. Position the person so that the light falls directly on the face, rather than coming from the side or rear. If daylight is not an option, use an overhead artificial light, rather than the flash function on the camera.
4. Check the Camera Settings
Turn on auto focus, auto white balance, and auto exposure before you take your photo. Turn off the flash and any digital effects, such as filters.
5. Position the Person Correctly
Ask the photo subject to face the camera directly, without tilting or rotating the head. Frame the photo so that the face and neck take up the majority of the photograph, without being cut off by the sides of the frame.
6. Remove Head Coverings
Have people take off hats or helmets so you can see their faces and hair clearly. If someone needs to wear a headscarf for religious reasons, make sure the scarf isn’t casting shadows over the face.
7. Consider People Who Wear Glasses
People who normally wear glasses should wear them in their ID photos. However, it’s important to ensure that the eyes are visible. That means no tinted lenses or sunglasses. Line up the photo to avoid light reflections on the glasses and check that the glasses frames don’t cover the eyes.
8. Check the Expression
It’s easiest to identify a person from a photo that shows a neutral expression. Ask your photo subject to stare straight into the camera with open eyes and a closed mouth, without smiling or frowning.
9. Check the Photo
Check the photo immediately after taking it to ensure it fits the requirements. It’s very easy to snap an ID photo that is blurry or that shows the card holder with closed eyes. By checking the photo immediately after shooting, you can quickly take another if the first photo is no good.
10. No Photo Editing
Don’t edit the photo after you’ve taken it. If it’s not suitable, take a new one rather than trying to airbrush out shadows or other frustrating features.
By following these tips, you can take ID photos that are true likenesses of your employees, students or members. Use these photos on personalized ID cards so you can be sure that everyone on your site has the right to be there. For more information on ID photos or cards, contact us at Avon Security Products today!