If you’re involved in any capacity with taking ID photos of your colleagues at work, chances are you’ve had people who were… well, a little disappointed. After all, this isn’t just any picture. This is a picture that you’ll carry around with you for quite a while, one that you’ll wear out in front of your workmates and perhaps even in public. It’s bad enough having an unflattering passport photo, and you only show that every once and a while! You owe it to your colleagues to put a little time and effort into your photo setup, that way they can wear their photo proudly.
First up, you’ll want a stable photo, adjusted to just the right angle for both consistency and framing. The best (read: only) way to do this well is by setting up a tripod; Avon Security Products has years of experience learning how to create the best ID card, which is why we offer both a miniature tripod, for use on a desk or stool, and the Optex Pro OPT155 tripod, which is durable and widely adjustable. The former is great if your business is portable, and you move locations a lot, as the mini tripod can be easily packed, carried and reset as needed. The latter is your all-around amazing tripod, with precise height adjustments and three-way pan capability, so you can track down the perfect angle for each colleague without sacrificing consistency.
Of course, the other thing you’ll see in an ID photo – other than your colleague’s lovely face, that is – is the background. You want something that won’t cast distracting shadows, something simple, complimentary and matte. At Avon Security Products, we offer a portable photo backdrop stand that comes in a number of different colours. Ask yourself, what colour are the printed cards going to be, and what colour are the badge reels going be? You want to choose a complimentary colour for your backdrop, or go with a simple white/off white – what you’re looking to avoid would be, for example, a purple backdrop, red card and yellow badge reel, which would look too busy. We also sell cloth backdrop cloth that you can drape behind the subject, if you’re looking for something even more portable than the stand.
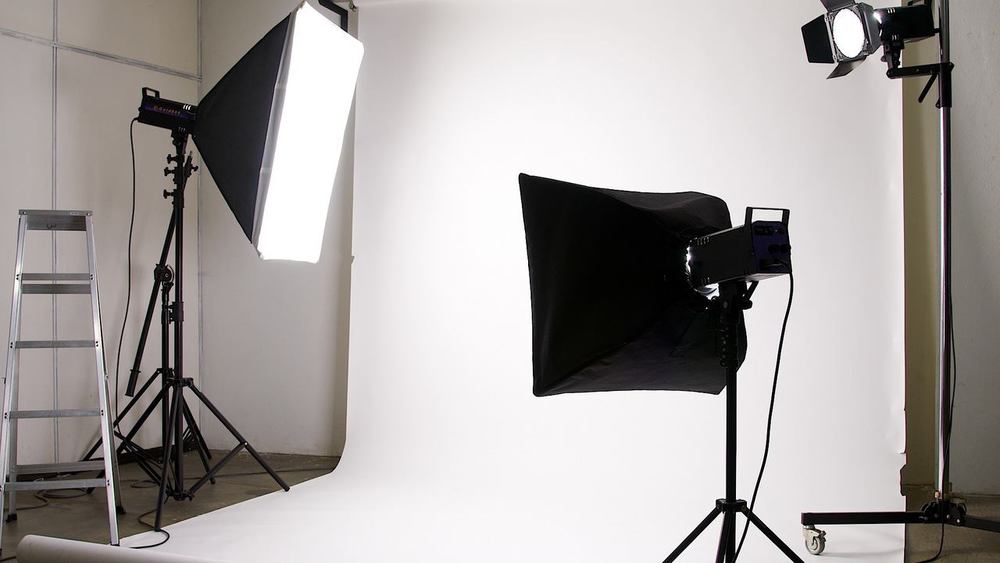
Next, you’ll turn your attention to lighting. This photographer’s guide to a DIY passport photo contains a good section on lighting. If possible, use natural light that’s been softened by a drape or curtain. What you’re looking to avoid is “hard lighting”, that kind of direct, bright light you get from overhead bulbs that casts unsightly shadows over a face. If you have access to lighting equipment, you can use the classic three-point lighting, with a backlight, key light and fill light.
Now, you’re ready to snap the shot and print the card. Make sure you have a good quality web camera, like our Credential Camera Pro, or Credential Camera AutoPro, with Auto Focus, both of which take superior, high-resolution photos. When you print the card, choose a printer, like the smart id card printer we offer, that prints a high amount of dots per inch (dpi); the Smart 50D, for example, boasts an impressive 300dpi with edge-to-edge printing. You’ve gone through the trouble of taking a beautiful photo – don’t that hard work get washed out by a grainy printing job.
You’d be surprised the kinds of small things that can boost morale in the workplace. Having a good-looking ID card photo can make a person more confident and happy to be a part of the team. With these simple tips and tools, you can make your ID card less of a mug shot and more of a beauty shot.